How to Clean and Sterilize Urethral Sounds
Boil urethral sounds 10 minutes, or pressure-cook at 15 PSI for 15 — soap and water never sterilizes. Chemical and material-specific methods inside.
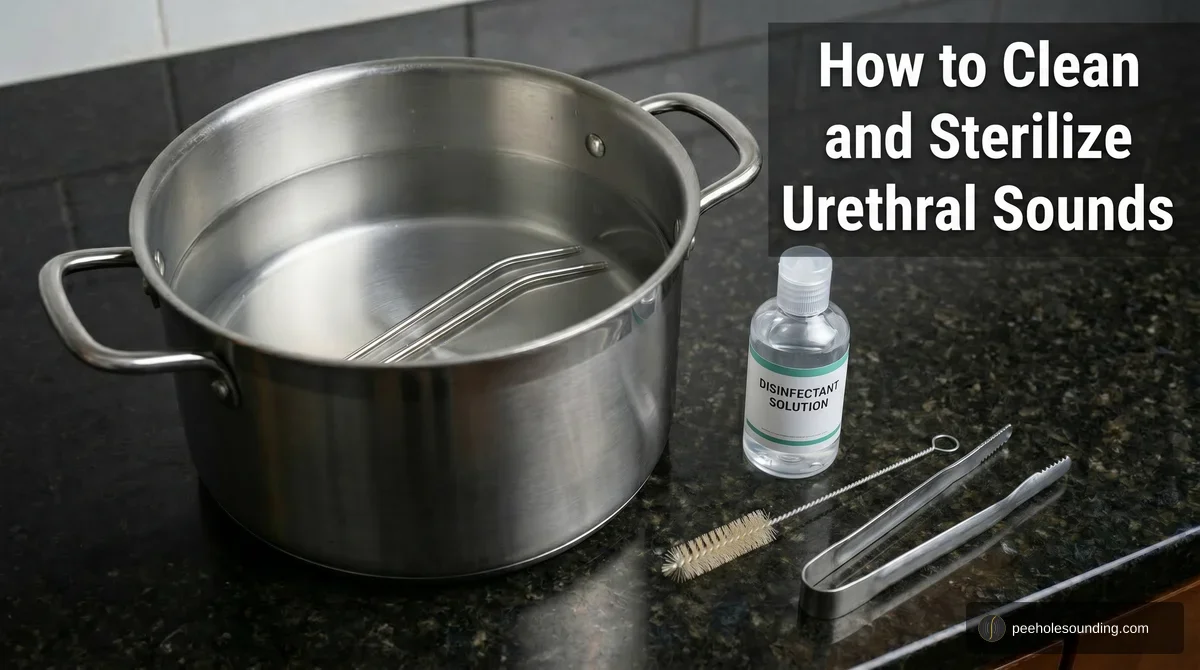
To properly sterilize urethral sounds, boil them in water for 10 minutes or use a pressure cooker at 15 PSI for 15 minutes. Soap and water alone is never enough. The urethra has no bacterial defense, so anything that enters it needs to be fully sterilized, not just cleaned.
I got serious about this early because I didn't want to learn the hard way. I read enough horror stories on Reddit about UTIs from lazy cleaning habits that I built a proper sterilization routine from the start. This guide is everything I wish someone had laid out clearly when I was getting started.
I'm not a doctor, and I'll always tell you to see one if something feels off. But I can share what ten years of practice and a lot of trial and error have taught me about keeping your sounds safe.
Cleaning vs. Sanitizing vs. Sterilizing: Why It Matters
These three words get thrown around interchangeably, but they mean very different things. And that difference matters when you're putting something inside your urethra.
Cleaning removes visible debris. Soap and water washes off lube, body fluids, and surface grime. It's a necessary first step, but it doesn't kill bacteria.
Sanitizing reduces bacteria to safer levels. An alcohol wipe kills most surface bacteria, but "most" isn't good enough for urethral play.
Sterilizing kills all microorganisms: bacteria, viruses, fungi, spores. This is the standard your sounds need to meet. Every single session.
Your urethra isn't like the outside of your body. Skin has layers of natural defense against bacteria. Your urethra has none. It's a direct, open path to your bladder, and any bacteria that gets introduced has a straight shot to cause a urinary tract infection. The CDC notes that catheter-associated UTIs occur when germs enter the urinary tract through an inserted device, which is exactly the risk profile of an unsterilized sound. Sterilization isn't optional. It's the single most important thing you do every time you sound.
Sterilization Methods Ranked
Not all sterilization methods are equal. Here's how they compare:
| Method | Temperature | Time | Effectiveness | Best For |
|---|---|---|---|---|
| Autoclave | 121°C / 250°F | 15-30 min | Perfect (hospital-grade) | Frequent users, multi-partner play |
| Pressure cooker | 121°C / 250°F at 15 PSI | 15 min | Near-perfect | Most home users |
| Boiling water | 100°C / 212°F | 10 min | Very good | Solid steel and titanium sounds |
| Chemical (betadine/bleach) | Room temp | 5-10 min | Good | Silicone, quick prep |
| Alcohol wipe | Room temp | Air dry | Sanitizes only | Surface prep, not full sterilization |
Boiling Water
Boiling is the most accessible method. Fill a pot with enough water to fully submerge your sounds, bring it to a rolling boil, and keep them in for 10 minutes. Use clean tongs to remove them, and set them on a sterile surface to cool.
This works well for solid stainless steel and titanium sounds. The key word is solid.
Here's the thing: if your sound cost under $15 on Amazon, it's probably plated. That means a thin layer of chrome or stainless coating over a cheaper base metal. Boiling can cause that plating to crack, peel, or separate. A cracked coating creates microscopic rough spots that harbor bacteria and can scratch the inside of your urethra. That's worse than not sterilizing at all.
How to tell: solid surgical steel is heavier, non-magnetic (or only very weakly magnetic), and typically costs $25 or more per set. If a magnet sticks firmly to your sound, it's likely plated over a ferrous base metal. Check our guide to types of urethral sounds to identify what you have.
Pressure Cooker
This is what I actually use. A pressure cooker brings water above its normal boiling point. At 15 PSI, water reaches 250°F instead of 212°F. That extra temperature makes a real difference — it's the same 121°C/250°F target the CDC identifies as a standard steam sterilization temperature for wrapped healthcare supplies. Run it for 15 minutes at full pressure and your sounds are hospital-grade sterile.
You don't need anything fancy. A basic electric pressure cooker works perfectly. Wrap your sounds in a clean cloth or place them in an autoclave pouch before putting them in. This keeps them sterile after the cycle finishes.
The process:
- Pre-clean your sounds with soap and water
- Place them in the pressure cooker (wrapped in cloth or in an autoclave pouch)
- Add enough water per your cooker's instructions
- Seal and run at 15 PSI for 15 minutes
- Let the pressure release naturally. Don't quick-release
- Remove with sterile tongs or gloves
- Store in the sealed pouch, or use immediately
Chemical Sterilization
Chemical methods work at room temperature, which makes them a solid option for materials that shouldn't be boiled or when you need a quicker prep.
Betadine (10% povidone-iodine): Soak your sounds for 10 minutes, then rinse thoroughly with sterile water. Betadine is effective and widely available at any pharmacy. Povidone-iodine has well-documented broad-spectrum antimicrobial activity in clinical hand disinfection and skin preparation, which is why it's a reliable home option.
Bleach solution (1:10 dilution): Mix one part household bleach with nine parts water. Soak for 5 minutes, then rinse thoroughly and air dry. The rinse step is critical. Bleach residue inside your urethra will cause chemical irritation or burns.
Hospital-grade disinfectants (Sani-Cide, Madacide): These are what professional practitioners use. Wipe down your sounds, let them sit for the contact time listed on the product, then clean off the disinfectant with mild soap and water. You don't want these chemicals entering your body.
70% isopropyl alcohol is a surface sanitizer, not a sterilizer. It kills most bacteria on contact, but it doesn't eliminate bacterial spores or all viruses. Use it as a final pre-session wipe after a proper sterilization, not as your only method.
Important: Always rinse chemical residue completely before use. Chemical burns inside the urethra are serious and painful. If you can smell the chemical on your sound, it hasn't been rinsed enough.
Autoclave
An autoclave is the gold standard. It's what hospitals and dental offices use. It combines pressurized steam at 121°C for 15-30 minutes, killing everything including heat-resistant bacterial spores. The CDC's Guideline for Disinfection and Sterilization in Healthcare Facilities identifies saturated steam under pressure as the most widely used and dependable sterilization method.
For most people, an autoclave is overkill. But if you sound frequently, play with multiple partners, or just want the highest possible level of sterility, a small dental autoclave runs $150-300 and will last years. Pair it with self-sealing sterilization pouches and your sounds stay sterile until you open the pouch.
UV Sanitizers
UV sanitizers (the kind sold for phones or beauty tools) can supplement your sterilization routine, but they are not a replacement for heat or chemical sterilization. UV light only works on surfaces it can directly reach, and it doesn't penetrate into microscopic surface irregularities where bacteria hide.
Use UV as a maintenance step between deep sterilizations, not as your primary method.
Cleaning by Material
Different materials have different tolerances. Here's what works for each:
| Material | Boil? | Pressure Cook? | Chemical? | Special Notes |
|---|---|---|---|---|
| Surgical steel (304/316) | Yes | Yes | Yes | Most forgiving. Verify solid vs. plated |
| Titanium | Yes | Yes | Yes | Lightweight, corrosion-resistant |
| Silicone | Yes | Use caution | Yes | Never use silicone-based cleaners |
| Glass (borosilicate) | Yes | Yes | Yes | Inspect for cracks before every use |
Stainless Steel (Surgical Grade 304/316)
Solid surgical-grade stainless steel handles every sterilization method without issue. It's the most forgiving material and the most common for quality sounds.
The important distinction is solid vs. plated. Solid surgical steel sounds are investment pieces that will last years with proper care. Plated sounds have a thin coating over a cheaper metal core, and aggressive sterilization (especially boiling) can compromise that coating.
A simple magnet test helps: solid 316L stainless steel is non-magnetic or very weakly magnetic. If a magnet sticks firmly, it's likely plated over a ferrous base.
Titanium
Titanium handles all heat-based sterilization methods and resists corrosion completely. It's lighter than steel, which some people prefer for comfort. The trade-off is cost. Titanium sounds are more expensive, so treat them accordingly and store them properly.
Silicone
Silicone sounds can be boiled, and that's one of their advantages. You can also run them through a dishwasher on the sanitize cycle (top rack, no detergent). But never use silicone-based lubricants or cleaners on silicone sounds. Silicone bonded to silicone degrades the material, creating a tacky, porous surface that can't be properly sterilized.
Stick to mild unscented soap for routine cleaning, and boil for full sterilization.
Glass
Borosilicate glass (the same material as lab equipment) handles boiling and autoclaving. But glass demands one extra step: inspect it before every use and before every sterilization. Run your fingertip along the entire surface. If you feel any roughness, see any chips, or notice a crack, no matter how small, throw it away. A micro-crack can propagate under heat and shatter during sterilization or use. Never take that risk.
Step-by-Step Cleaning Workflow
Before Your Session
- Wash your hands thoroughly with antibacterial soap
- Inspect your sound for damage: cracks, rough spots, plating peeling, discoloration
- If stored in a sealed sterile pouch, your sound is ready. Skip to step 5
- Wipe the sound down with 70% isopropyl alcohol and let it air dry completely
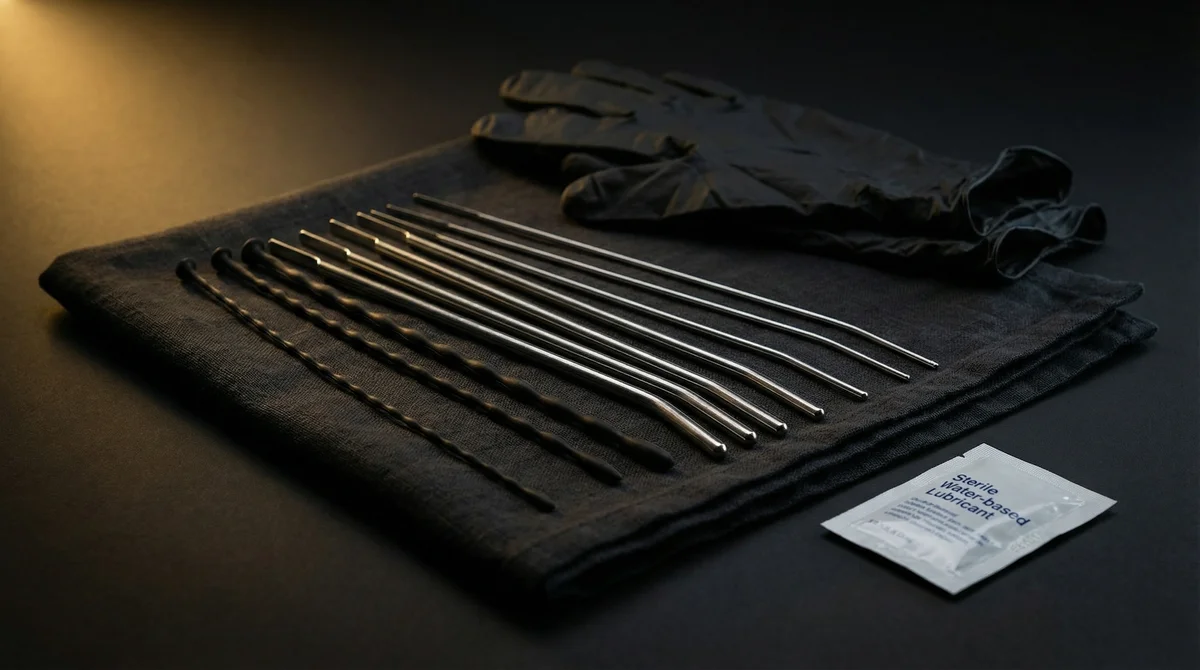
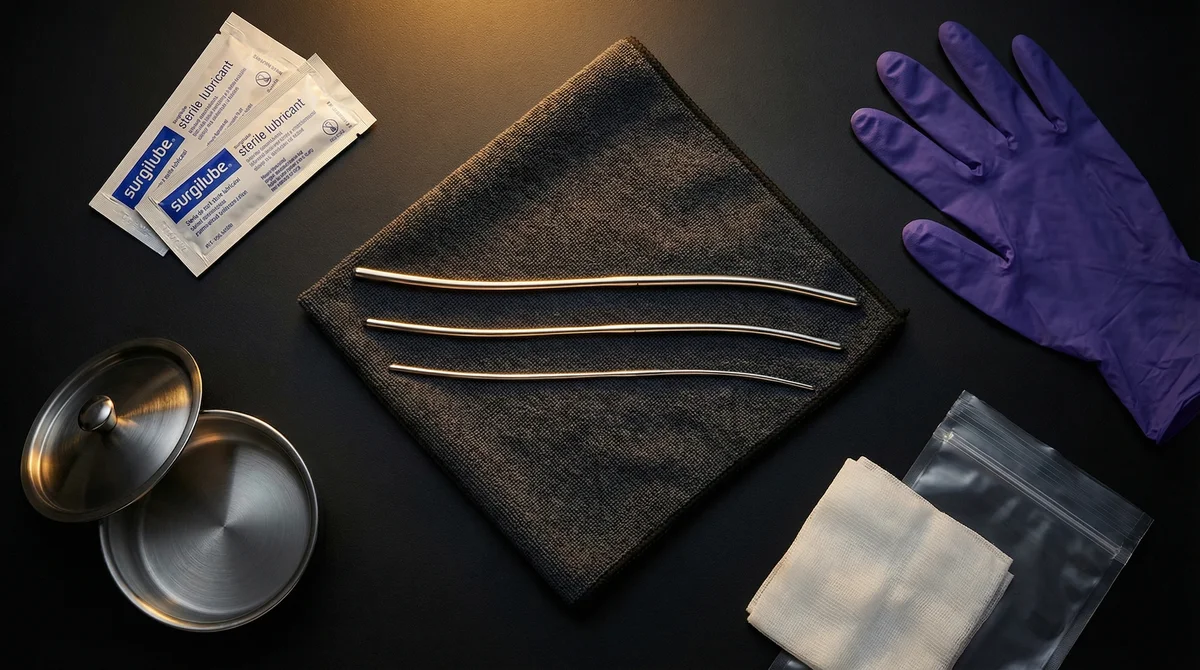
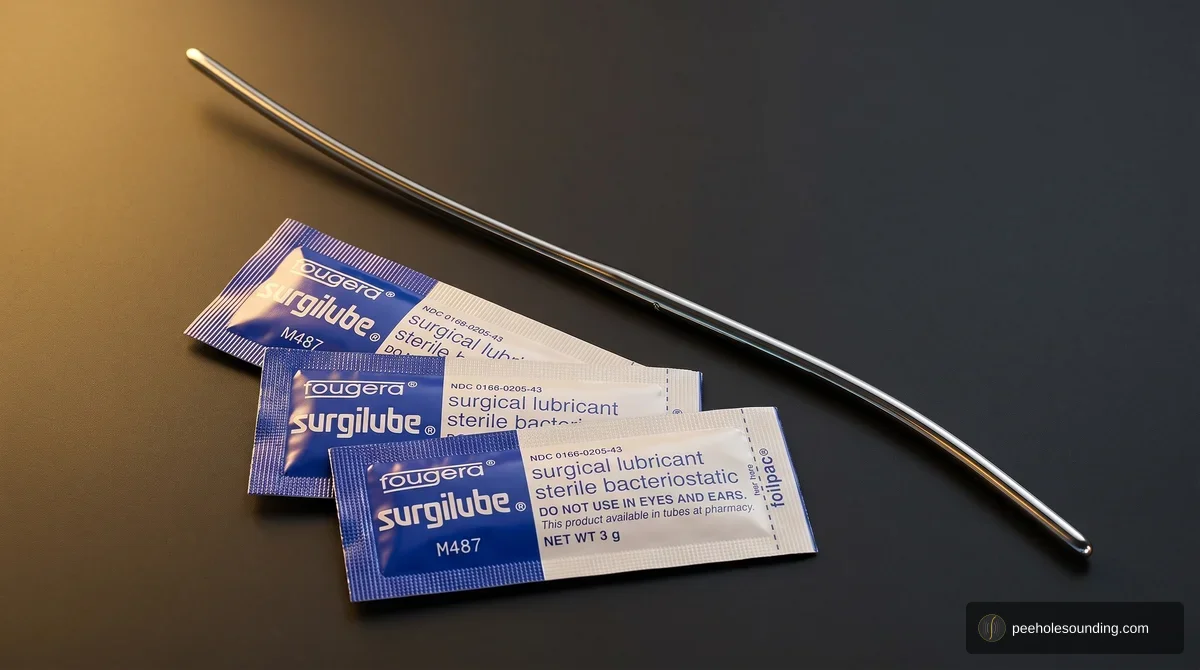
- Apply sterile lubricant (SurgiLube or equivalent surgical-grade lube)
- Wash your genitals with mild, unscented soap and warm water
If you're new to sounding, this pre-session prep becomes second nature after a few times. It takes less than five minutes and it's the difference between a great session and a trip to urgent care.
After Your Session
- Rinse the sound under warm running water immediately. Don't let lube and body fluids dry on it
- Wash with mild unscented soap using gloves
- Rinse thoroughly
- Dry with a lint-free cloth or let air dry on a clean surface
- Store in a clean container until your next deep sterilization
And pee. Urinate as soon as possible after every sounding session. This flushes the urethra and helps clear any bacteria that may have been introduced. It might sting a little. That's normal. If the burning persists beyond a day, see a doctor — the NHS lists burning on urination as a primary UTI symptom that warrants medical attention.
Deep Sterilization
Do this between sessions. Don't reuse a sound from your last session without sterilizing it first, even if you cleaned it immediately after.
- Pre-clean with soap and water to remove any residue
- Choose your sterilization method based on your sound's material (check the table above)
- Follow the method's protocol. Full time, full temperature, no shortcuts
- Remove using sterile technique (tongs, sterile gloves)
- Let cool on a sterile surface or in a sterile pouch
- Store in a sealed autoclave pouch or dedicated clean case
Storage and Handling
Sterilizing your sounds is only half the equation. How you store them afterward determines whether they stay sterile.
The gold standard: self-sealing autoclave pouches. These are the same bags used in hospitals and dental offices. Sterilize your sound, place it in the pouch while wearing sterile gloves, seal it, and it stays sterile until you break the seal. A box of 200 pouches costs about $15.
If autoclave pouches aren't your style, a dedicated hard case with a clean lining works. Wrap each sound individually to prevent them from touching each other. Metal-on-metal contact can cause surface scratches that harbor bacteria.
I keep mine in autoclave pouches in a dedicated drawer. My rule is simple: if the pouch is open or damaged, I re-sterilize before use. No exceptions.
Never:
- Store sounds loose in a drawer with other items
- Toss them in a bag with other toys
- Let sterilized sounds touch unsterile surfaces
- Handle the insertable portion with bare unwashed hands after sterilization
Common Sterilization Mistakes
I've seen every one of these, and made a couple myself.
- Thinking soap and water is enough. It isn't. Ever. Soap cleans, it doesn't sterilize.
- Using spit as lubricant. Your mouth is a bacteria factory. Saliva introduced into the urethra is a fast track to infection. Use sterile surgical lube.
- Boiling plated sounds. If it's not solid surgical steel, boiling can crack the coating and make the sound less safe than if you hadn't boiled it at all.
- Skipping the rinse after chemical sterilization. Betadine and bleach residue causes chemical irritation inside the urethra. Rinse until you can't smell anything.
- Touching the insertable end after sterilizing. You just killed all the bacteria. Don't put it right back on. Handle by the stopper end or use gloves.
- Sharing sounds without re-sterilizing. Sounds are personal. If you share with a partner, sterilize between users every time. This prevents STI and bacterial transmission.
- Storing sterilized sounds on non-sterile surfaces. A sterile sound placed on your bathroom counter is no longer sterile.
- Reusing sterile lube packets. Single-use means single-use. Once the packet is open, the remaining lube is no longer sterile.
When to Replace Your Sounds
Sounds don't last forever. Here are the signs it's time for a new one:
- Pitting or corrosion on stainless steel, visible as small dark spots or rough texture
- Plating peeling or flaking. If you can see a different-colored metal underneath, it's compromised
- Any crack or chip in glass. Discard immediately, no exceptions
- Silicone turning sticky, discolored, or stiff. The material has degraded and can't be properly sterilized
- Rough spots you can feel with a fingertip. These harbor bacteria
My rule of thumb: if you wouldn't put it in your mouth, don't put it in your urethra. Your sounds are an investment in your safety. When they show wear, replace them. Check our guide to types of sounds when you're shopping for replacements.
Frequently Asked Questions
Sterilization isn't the exciting part of sounding. But it's what keeps the exciting part safe. Build it into your routine until it's automatic: pre-clean, sterilize, store properly, prep before each session. Your body will thank you for it.
Related Guides
What Is Urethral Sounding? A Complete Guide to Safety, Pleasure & Getting Started
Feb 15
Sounding Toy Guide: Types, Materials & How to Choose
Mar 10
Is Sounding Safe? Sounding Safety Protocols & Risks
Mar 5
Hegar Sounds: Sizes, Full mm/Fr Chart & How to Choose
Apr 12
Best Lube for Sounding: Sterile Picks That Actually Work
Apr 20
Urethral Stretching Guide: Safe Progressive Dilation for Beginners
Apr 24